Introduction
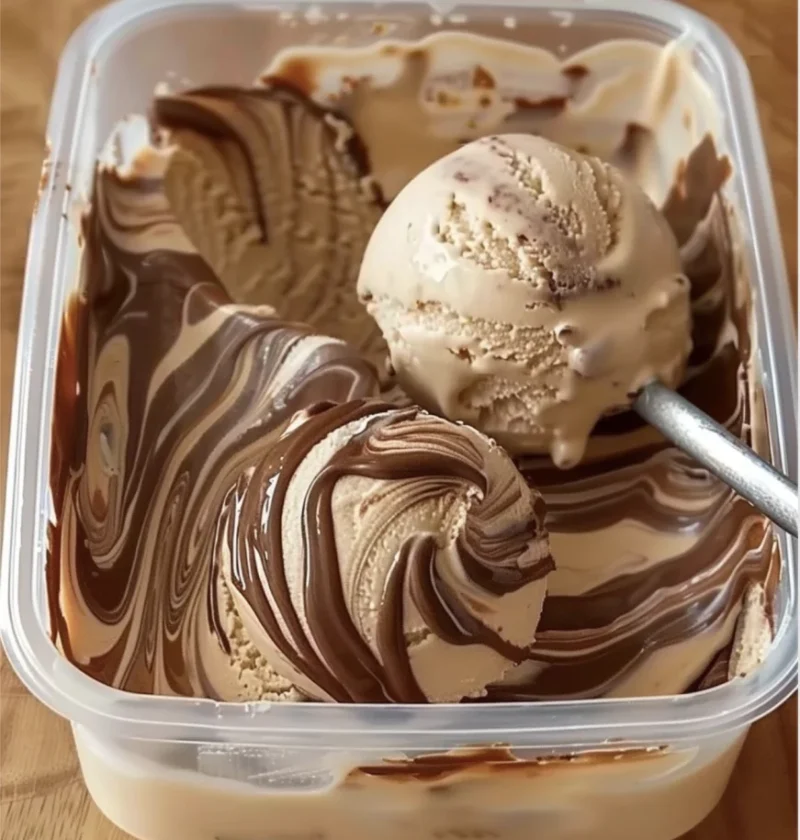
You don’t need a bulky, expensive ice cream maker to create professional-quality frozen desserts at home. This No-Churn method is a “kitchen miracle” that relies on a simple scientific principle: by folding whipped cream into sweetened condensed milk, you create a light, airy base that remains creamy and scoopable even when frozen solid.
This version is incredibly versatile—once you master the two-ingredient base, you can customize it with any mix-ins your heart desires.
Ingredients
- The Two-Ingredient Base:
- 2 cups Heavy Whipping Cream (must be very cold)
- 1 can (14 oz) Sweetened Condensed Milk (chilled)
- The Flavor Foundation:
- 1 ½ teaspoons Pure Vanilla Extract
- Pinch of Salt (to balance the sweetness)
Equipment Needed
- Large Mixing Bowl: For whipping the cream.
- Hand Mixer or Stand Mixer.
- 9×5 inch Loaf Pan: Or any freezer-safe container.
- Spatula.
Time & Servings
- Prep Time: 10 minutes
- Freeze Time: 6 hours (minimum)
- Total Time: ~6 hours 10 minutes
- Servings: 1.5 quarts
Step-by-Step Instructions
1. Prep the Container
Place your loaf pan or container in the freezer for about 10 minutes before you start. This helps the ice cream begin freezing immediately once poured in.
2. Whip the Cream
In a large, cold mixing bowl, beat the heavy whipping cream until stiff peaks form.
Tip: “Stiff peaks” means when you lift the whisk, the cream stands straight up without drooping. Be careful not to over-beat, or it will turn into butter!
3. Mix the Base
In a separate medium bowl, stir together the sweetened condensed milk, vanilla extract, and a pinch of salt.
4. Fold it Together
Gently fold about a cup of the whipped cream into the condensed milk mixture to lighten it up. Then, fold that mixture back into the remaining whipped cream. Use a gentle “under-and-over” motion with a spatula. Do not stir vigorously, or you will deflate the air you just whipped in.
5. Add Your Mix-ins
If you want to add chocolate chips, crushed cookies, or fruit, fold them in now.
6. Freeze
Pour the mixture into your chilled loaf pan. Smooth the top with a spatula. Cover the surface directly with plastic wrap (this prevents ice crystals from forming) and freeze for at least 6 hours, or overnight for the best texture.
Tips and Tricks
- Cold Everything: For the best volume, chill your bowl and beaters in the freezer for 15 minutes before whipping the cream.
- Condensed Milk Choice: Ensure you are using Sweetened Condensed Milk, not Evaporated Milk. They are not interchangeable!
- The Salt Secret: A tiny pinch of salt cuts through the richness and makes the vanilla flavor “pop.”
Variations
- Cookies and Cream: Fold in 1 cup of crushed Oreo-style cookies.
- Chocolate Lovers: Whisk 1/2 cup of unsweetened cocoa powder into the condensed milk before folding in the cream.
- Fruity Swirl: Swirl in 1/4 cup of strawberry jam or lemon curd just before freezing.
- Vintage Nutty: Fold in 1/2 cup of the toasted pecans you used for your blondies for a “Butter Pecan” vibe.
Serving Suggestions
- The Ultimate Sundae: Serve a scoop alongside a warm Pecan Blondie or a slice of Slow Cooker Sticky Toffee Pudding.
- Affogato Style: Drop a scoop into a hot cup of espresso for a sophisticated after-dinner treat.
Storage Instructions
- Freezer: Keep in an airtight container for up to 2 weeks. Because this lacks the preservatives of store-bought ice cream, it is best enjoyed within the first 7 days for the freshest texture.
Conclusion
This Easy Homemade Ice Cream is a game-changer for summer entertaining. It’s rich, velvety, and feels far more impressive than a ten-minute recipe has any right to be.
Would you like to try a specific flavor combination, like mint chip or salted caramel, or are you looking for more “no-bake” summer desserts?