In the structural engineering of handheld nutrients, the “Pocket Taco” represents a significant advancement over the traditional open-cradle geometry. By utilizing a Hexagonal Fold Pattern, we create a pressurized environment that facilitates superior lipid-cheese integration while maintaining a rigid, portable exterior. This is a masterclass in Confinement-Induced Melt Dynamics.
## Project Specifications
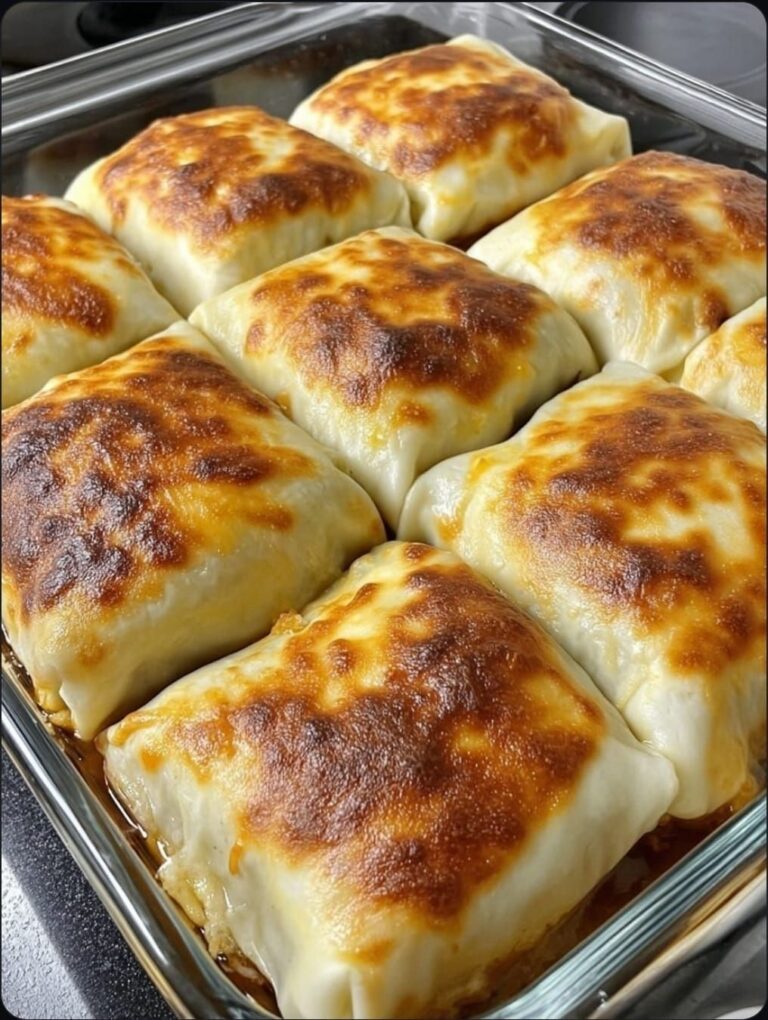
This build focuses on “The Sealing Phase,” where thermal induction creates a structural weld between the flour-based wrap and the internal matrix.
- Prep Time: 20 Minutes
- Inactive Time: 10 Minutes (Protein Hydration)
- Cook Time: 15 Minutes
- Total Time: 45 Minutes
- Servings: 4 Units
### Detailed Cost Estimate (USD)
| Cost Driver | Role | Est. Cost |
|---|---|---|
| 80/20 Ground Chuck | High-Fat Protein Core | $6.00 |
| Oaxaca & Sharp Jack Blend | Thermodynamic Adhesive | $4.50 |
| Burrito-Sized Flour Tortillas | Flexible Containment Shell | $2.00 |
| Avocado-Lime Crema | Acidic Coolant | $3.00 |
| Total Estimated Cost | $15.50 | |
## The Ingredient Architecture
### The Flexible Containment Shell
12-inch Flour Tortillas: Must be high-gluten and pliable. We rely on Starch Plasticity to achieve the complex folding required without mechanical failure (tearing).
### The High-Fat Protein Core
500g Ground Chuck (Seasoned): Browned to a high degree of Desiccation to prevent excess steam from compromising the shell’s crispness.
### The Thermodynamic Adhesive (Cheese Matrix)
Oaxaca (for stretch) and Sharp Jack (for oil-release): This blend acts as the “glue” that binds the protein granules to the interior starch wall.
### The Internal Texture Modifiers
Crushed Tostada Shells & Jalapeño Brine: Provides a “Crunch-Center” and chemical acidity to prevent Palate Fatigue from the dense lipids.
## The Phase-Based Workflow
### Phase 1: Protein Carbonization
Sauté the beef at 200°C (400°F). Drain exactly 75% of the rendered fat; the remaining 25% is necessary for the internal lubrication of the matrix.
The Science: We are maximizing Maillard Browning. By removing the excess water early, we raise the surface temperature of the meat, allowing amino acids to react with sugars to create hundreds of flavor compounds.
### Phase 2: Tortilla Plasticization
Microwave tortillas for 20 seconds wrapped in a damp cloth. This increases the Elastic Modulus of the flour structure.
The Logic: Cold tortillas are brittle due to Starch Retrogradation. Applying heat and moisture temporarily reverses this, making the starch chains slide past each other for easy folding.
### Phase 3: Hexagonal Assembly
Center the cheese, meat, and tostada bit. Fold the edges toward the center in 6-7 overlapping pleats. Place SEAM-SIDE DOWN on a hot greased surface immediately.
### Phase 4: Thermal Welding
Press the pocket with a weight for 3 minutes per side. The heat must reach 71°C (160°F) internally to ensure the cheese matrix has fully transitioned to a liquid state.
The Science: This is Contact Conduction. The weight forces the overlapping flour pleats to fuse together as the proteins in the tortilla “set,” effectively welding the pocket shut without the need for external fasteners.
## Resting & Servicing
Allow the pocket to undergo 3 minutes of Equilibrium Resting. This prevents “Thermal Eruption”—the dangerous expulsion of molten cheese upon the first mechanical breach (bite).
The Logic: Resting allows the internal steam pressure to subside and the cheese to slightly increase in Viscosity, ensuring it clings to the meat rather than flowing out onto the user’s hands.
Final Service: Serve with a side of Cold Acidic Emulsion (Salsa or Crema) to provide a temperature-contrast sensory experience.