Introduction
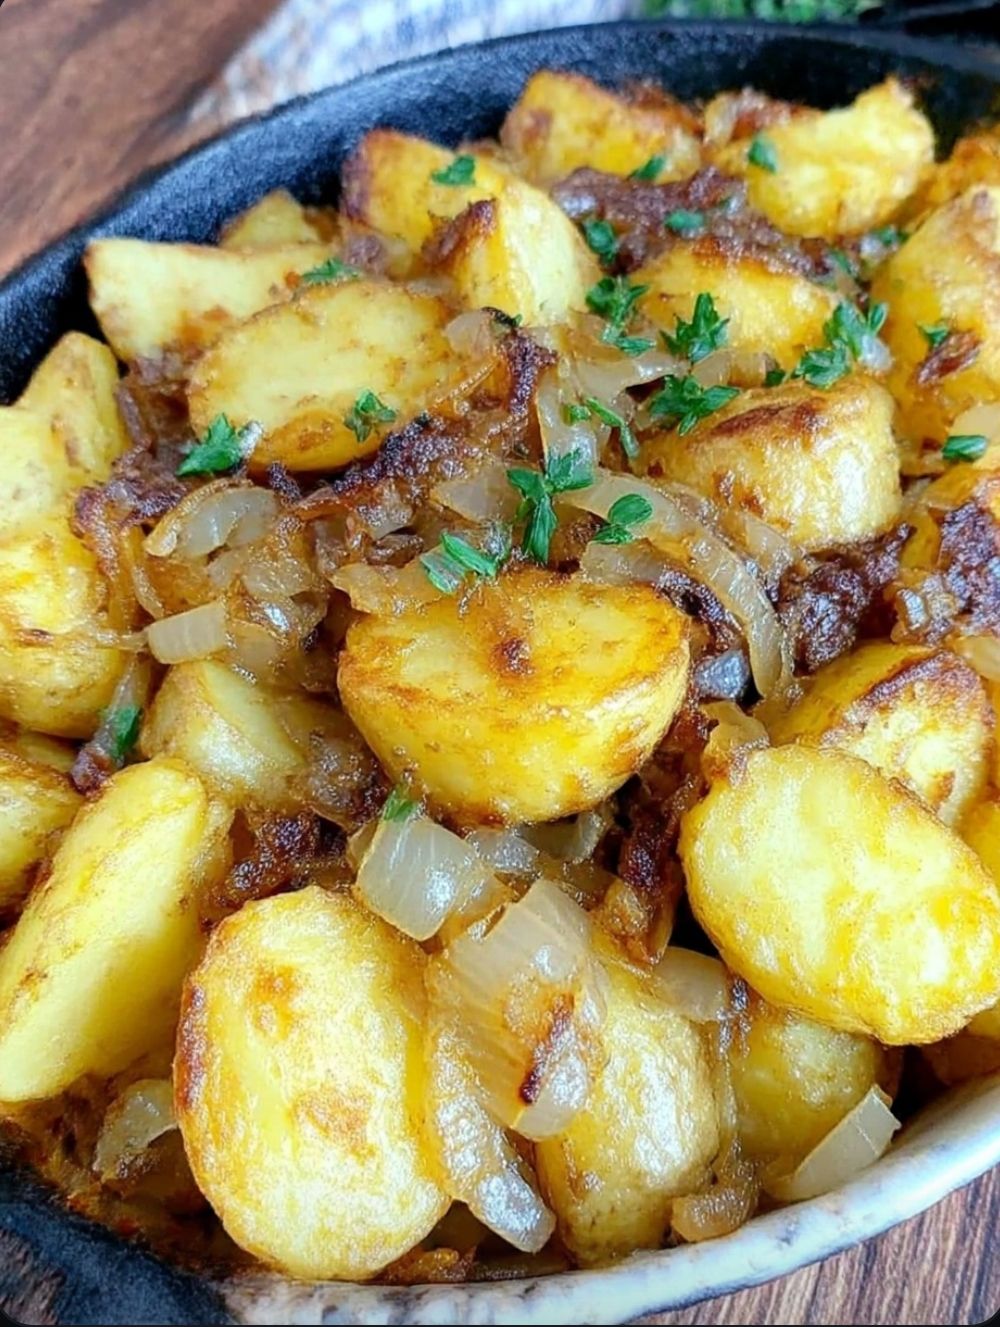
There is no aroma quite as nostalgic or appetite-whetting as the smell of sliced potatoes and onions hitting a shimmering, hot skillet. Mom’s Fried Potatoes and Onions is the quintessential “home base” recipe—a dish that has graced breakfast plates alongside over-easy eggs, filled up hungry families at Sunday lunch, and served as the perfect humble side for a Tuesday night steak. This isn’t just a recipe; it’s a lesson in patience and temperature control. The goal is a delicate balance of textures: potatoes with deeply bronzed, shatteringly crisp edges and fluffy, steaming centers, tossed with onions that have been cooked down until they are sweet, jammy, and slightly charred. It is a rustic, one-pan masterpiece that proves you only need three or four basic ingredients to create a meal that feels like a warm embrace.
Ingredients
The Foundation
- 3 lbs Yukon Gold or Russet Potatoes: (About 5–6 medium potatoes). Yukon Golds provide a buttery interior, while Russets offer the ultimate crunch.
- 2 Large Yellow Onions: Sliced into thick half-moons. You want enough onion to ensure a bit of sweetness in every forkful.
- 3 tbsp Salted Butter: For that essential diner-style flavor.
- 3 tbsp Vegetable Oil or Lard: High-smoke point fats are key to achieving that golden crust without burning the butter.
The Seasoning
- 1 tsp Kosher Salt: To draw out moisture and season the starch.
- 1/2 tsp Coarse Black Pepper: For a classic, sharp bite.
- 1/2 tsp Garlic Powder: (Optional) For a savory, rounded depth.
- 1/4 tsp Smoked Paprika: Just a hint for a “wood-fired” color and taste.
Equipment Needed
- 12-inch Cast Iron Skillet: This is the “secret weapon” for heat retention and superior browning.
- Large Metal Spatula: For getting under those crispy bits without breaking the potato slices.
- Large Bowl: For soaking the potatoes.
- Clean Kitchen Towels: Essential for drying the potatoes thoroughly.
Preparation Time, Cooking Time, Total Time, Servings
- Prep Time: 15 minutes (plus 10 mins soaking)
- Cook Time: 25 to 30 minutes
- Total Time: Approx. 50 minutes
- Servings: 4 to 6 people
Step-by-Step Instructions
1. The “Soak and Dry” Secret
Peel your potatoes (or leave the skins on for a rustic look) and slice them into 1/8-inch thick rounds or small cubes. Immediately place them in a large bowl of cold water for 10 minutes. This removes excess surface starch, which is the #1 reason fried potatoes turn out gummy instead of crispy. Drain them and pat them bone-dry with kitchen towels. Moisture is the enemy of the crunch!
2. Heat the Skillet
Place your cast iron skillet over medium-high heat. Add the vegetable oil (or lard) and let it get hot enough that a drop of water flicked onto it sizzles instantly. Add the butter; once it foams and subsides, you are ready to cook.
3. The First Sear
Add the potatoes to the skillet in an even layer. Do not crowd the pan too much—if you have to, cook in two batches. Do not stir them for the first 5–7 minutes. You want them to develop a hard, golden-brown sear on the bottom.
4. Add the Onions
Once the first side of the potatoes is crispy, use your metal spatula to flip them over. Now, nestle your sliced onions into the gaps between the potatoes. Sprinkle the salt, pepper, garlic powder, and paprika over the top.
5. The Low and Slow Finish
Reduce the heat to medium. Cover the skillet with a lid for about 5 minutes. This “steams” the centers of the potatoes, ensuring they are tender and fluffy, and allows the onions to soften.
6. The Final Crisp
Remove the lid and turn the heat back up slightly. Continue to fry, flipping occasionally, for another 10–12 minutes. The onions will begin to caramelize and wrap around the crispy potatoes. Cook until the onions are dark brown and the potatoes are golden and tender.
Tips and Tricks
- Cast Iron is King: If you don’t have cast iron, use the heaviest stainless steel pan you own. Thin pans will create “hot spots” that burn the onions before the potatoes are cooked.
- The “No-Touch” Rule: The more you stir, the more the potatoes break down and become “mushy.” Flip them with authority, then leave them alone to brown.
- Bacon Fat Upgrade: If you have a jar of bacon drippings in the fridge, swap the vegetable oil for bacon fat. It adds a smoky, salty dimension that is purely “Mom’s kitchen.”
- Uniform Slicing: Try to keep your potato slices the same thickness so they all finish cooking at the same time.
Variations
- The “Loaded” Skillet: Five minutes before pulling the pan off the heat, sprinkle a cup of shredded cheddar cheese over the top and cover until melted.
- O’Brien Style: Add diced green and red bell peppers at the same time as the onions for a colorful, vitamin-rich breakfast side.
- Herbed Potatoes: Toss with a tablespoon of fresh chopped rosemary or thyme in the last 2 minutes of cooking for an earthy, upscale twist.
- Spicy Fried Potatoes: Add a sliced jalapeño or a dash of crushed red pepper flakes for a “kick” that pairs perfectly with eggs.
Serving Suggestions
These potatoes are the ultimate “chameleon” side dish. Serve them for breakfast alongside thick-cut bacon and eggs sunny-side up. For dinner, they are the natural partner to a juicy meatloaf, pork chops, or a simple rotisserie chicken. If you have leftovers, they make an incredible base for a breakfast burrito the next morning!
Storage Instructions
- Refrigeration: Store in an airtight container for up to 4 days.
- Reheating: Avoid the microwave, as it will make the potatoes soft. Instead, reheat them in a dry skillet over medium heat for 5 minutes to bring back that signature “snap” and crunch.
- Freezing: Fried potatoes can be frozen for up to a month, though they lose some of their textural integrity.
Nutritional Information (Per Serving)
- Calories: 220 kcal
- Protein: 3g
- Fat: 12g
- Carbohydrates: 26g
- Fiber: 4g
- Vitamin C: 45% DV
Conclusion
Mom’s Fried Potatoes and Onions is a dish that reminds us why we love to cook. It’s about taking the most basic ingredients from the pantry and, through the magic of a hot pan and a little bit of time, turning them into a gold-medal side dish. Whether you’re eating them off a paper plate at a campsite or a china plate at a holiday brunch, that combination of salty, crispy potato and sweet, caramelized onion is timeless. Grab your skillet and get frying!