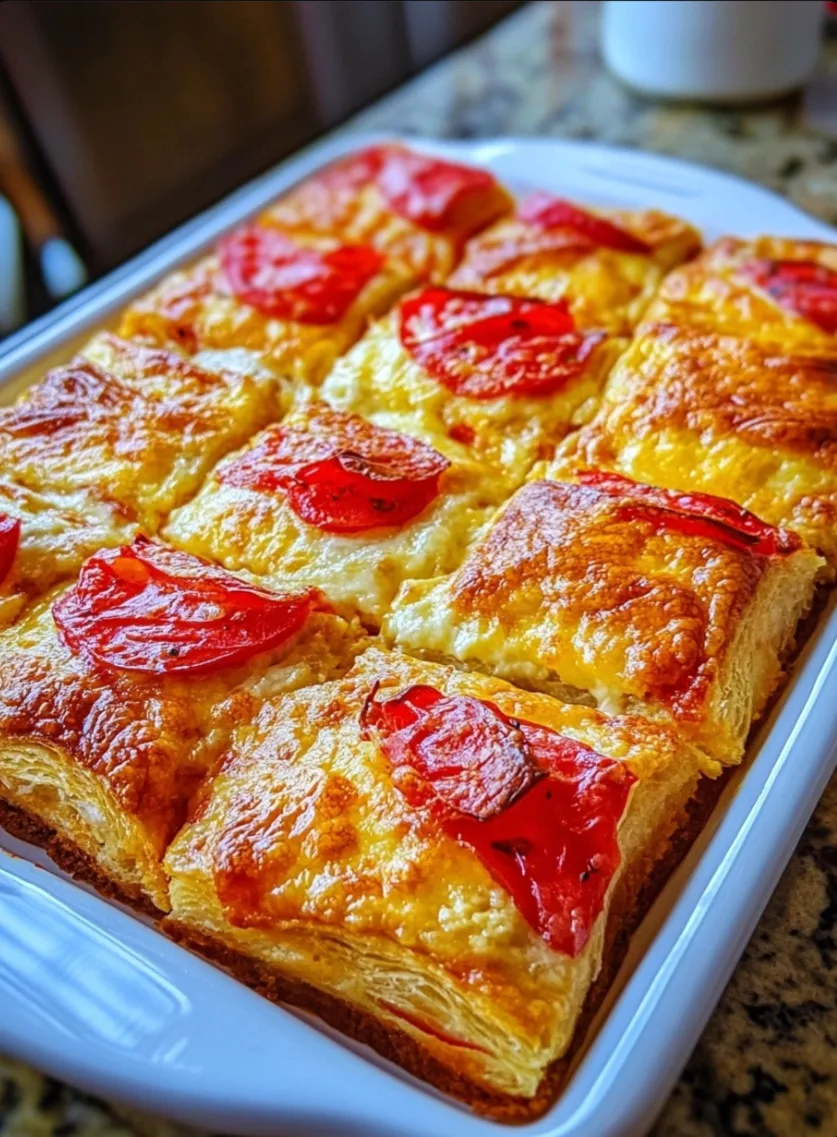
In the field of high-density snack engineering, the “Antipasto Square” represents a sophisticated Multilayered Structural Composite. By utilizing a “double-crust” configuration, we create a pressurized containment vessel that facilitates the Lipid Migration between cured charcuterie and a stabilized dairy matrix. This architecture is designed to optimize Vertical Component Integration, ensuring that every 2-inch square module contains a representative sample of the entire flavor spectrum.
Project Specifications
Success in this build requires meticulous management of “Moisture Barriers.” We must prevent the aqueous components of the peppers from compromising the crystalline structure of the starch foundation.
- Prep Time: 20 Minutes
- Inactive Time: 15 Minutes (Thermal Redistribution)
- Cook Time: 30 Minutes
- Total Time: 1 Hour 5 Minutes
- Servings: 24-30 Individual Modules
Detailed Cost Estimate (USD)
| Cost Driver | Role | Est. Cost |
|---|---|---|
| Crescent Dough Sheets (2 Units) | Structural Containment Shell | $6.00 |
| Deli Meats (Salami, Pepperoni, Ham) | Primary Protein Load | $12.00 |
| Provolone & Swiss Slices | Viscous Texture Binder | $5.50 |
| Roasted Red Peppers & Pesto | Acidity & Umami Modifiers | $4.50 |
| Total Estimated Cost | $28.00 | |
The Ingredient Architecture
The Structural Containment Shell
Two 8oz Cans Refrigerated Crescent Dough: These serve as the superior and inferior load-bearing plates. The dough must be unrolled and the perforations sealed to create a Monolithic Starch Barrier.
The Protein Load
1/4 lb each of Salami, Pepperoni, and Ham: High-sodium cured proteins. These provide the Mechanical Strength of the filling and release flavorful lipids during the thermal phase.
The Viscous Texture Binder
Sliced Provolone and Swiss Cheese: These act as the “Internal Grout.” As they reach their Glass Transition Temperature, they flow into the gaps between the meat layers, bonding the structure together.
The Aqueous Component Modifiers
12oz Jar Roasted Red Peppers (Desiccated): These provide acidity. Warning: Failure to remove excess brine will result in Starch Hydration Failure (soggy bottom).
The Phase-Based Workflow
Phase 1: Foundation Laying & Sealing
Press the first dough sheet into a 13×9 inch vessel. Ensure all seams are fused via Mechanical Pressure. Pre-bake for 5 minutes at 175°C (350°F) to par-cook the base.
The Logic: This creates a Pre-Set Starch Matrix. By par-baking, we strengthen the base’s resistance to moisture migration from the subsequent layers, ensuring a crisp foundation.
Phase 2: Vertical Layer Assembly
Construct the layers in the following sequence: Cheese, Meat Blend, Peppers, remaining Meat, and final Cheese layer. This sandwiching of the peppers between proteins prevents direct contact with the dough plates.
Phase 3: Superior Plate Integration
Place the second dough sheet over the matrix. Whisk 3 eggs with 1 tbsp Parmesan and pour over the surface. This creates an Albumin-Based Glaze that aids in browning and provides extra structural reinforcement.
Phase 4: Controlled Thermal Induction
Bake for 30 minutes at 175°C (350°F). We are looking for Dextrinization of the top crust (golden brown) and total Lipid Liquefaction in the core.
The Science: This is Convection-Driven Thermal Fusion. The eggs migrate into the crevices of the dough, creating a “protein-reinforced starch” that prevents the top from separating from the dense filling during the cooling contraction.
Resting & Servicing
The unit must undergo a 15-minute Thermal Stabilization Phase before mechanical sectioning.
The Science: As the temperature drops from the oven peak, the fats in the cheese begin to Recrystallize. This increases the internal Shear Strength of the squares, allowing for clean, geometric cuts without the layers sliding out from under the blade.
Final Service: Divide into a 6×4 grid. These squares can be served at Ambient Temperature or chilled. If serving chilled, the Lipid Satiety is increased as the fats become more dense and chewy.